eReader Keys
If you have upgraded from an earlier version of the plugin, any existing eReader (Fictionwise ‘.pdb’) keys will have been automatically imported, so you might not need to do any more configuration. Continue reading for key generation and management instructions.
Creating New Keys:
On the right-hand side of the plugin’s customization dialog, you will see a button with an icon that looks like a green plus sign (+). Clicking this button will open a new dialog for entering the necessary data to generate a new key.
Unique Key Name: this is a unique name you choose to help you identify the key. This name will show in the list of configured keys. Choose something that will help you remember the data (name, cc#) it was created with.
Your Name: This is the name used by Fictionwise to generate your encryption key. Since Fictionwise has now closed down, you might not have easy access to this. It was often the name on the Credit Card used at Fictionwise.
Credit Card#: this is the default credit card number that was on file with Fictionwise at the time of download of the ebook to be de-DRMed. Just enter the last 8 digits of the number. As with the name, this number will not be stored anywhere on your computer or in calibre. It will only be used in the creation of the one-way hash/key that’s stored in the preferences.
Click the OK button to create and store the generated key. Or Cancel if you don’t want to create a key.
New keys are checked against the current list of keys before being added, and duplicates are discarded.
Deleting Keys:
On the right-hand side of the plugin’s customization dialog, you will see a button with an icon that looks like a red “X”. Clicking this button will delete the highlighted key in the list. You will be prompted once to be sure that’s what you truly mean to do. Once gone, it’s permanently gone.
Renaming Keys:
On the right-hand side of the plugin’s customization dialog, you will see a button with an icon that looks like a sheet of paper. Clicking this button will promt you to enter a new name for the highlighted key in the list. Enter the new name for the encryption key and click the OK button to use the new name, or Cancel to revert to the old name..
Exporting Keys:
On the right-hand side of the plugin’s customization dialog, you will see a button with an icon that looks like a computer’s hard-drive. Use this button to export the highlighted key to a file (with a ‘.b63’ file name extension). Used for backup purposes or to migrate key data to other computers/calibre installations. The dialog will prompt you for a place to save the file.
Importing Existing Keyfiles:
At the bottom-left of the plugin’s customization dialog, you will see a button labeled “Import Existing Keyfiles”. Use this button to import existing ‘.b63’ key files that have previously been exported.
Once done creating/deleting/renaming/importing decryption keys, click Close to exit the customization dialogue. Your changes wil only be saved permanently when you click OK in the main configuration dialog.
No cateHow To Extend Your Laptop’s Battery Life
To extend your laptop battery, you need to protect your battery from discharge and overcharge, you should change laptop battery as soon as possible, the MS Windows battery setting is not perfect, it may hurt your battery, so it is neccessory to change Power management scheme to protect battery.
do not let a Li-On battery completely discharge. (Discharing is only for older batteries with memory effects)
No cateGoogle Docs Backup Software
 It is essential to have a solid backup strategy in place with cloud storage space becoming more popular. While many users run backup software on their local computer system to backup important data only a few take care that uploaded data is also regularly backed up.
The reason for this is that many users believe that the data is safe on Internet servers. A lot can happen that can put the data on those servers at risk. This ranges from hacking attempts, hardware failures that cause data loss or bankruptcy. It is therefor essential to make sure that data that is stored online is backed up regularly.
We have already mentioned how to backup Gmail before should be essential for every Gmail user. While it is unlikely that Gmail will be discontinued there have been times where the service was not accessible. Having a backup of the data would make it possible to access the emails anyway.
Google Docs Backup is another Windows backup software that can be used to backup one of the popular Google services. Users can use it to backup all documents on their local computer system that they have uploaded to Google Docs. Usage of the backup software has been simplified. All that needs to be done is to enter the username and password of the Google Docs account and to select a directory on the local computer where the data should be downloaded to.

A few optional settings are available. It is for example possible to select the output format for each document type and to route the traffic through a proxy server. A click on the Exec button will initiate the data backup which can take some time depending on the size of the data stored at Google Docs and the connection speed.
No cateOther Product
Protect Laptop Battery
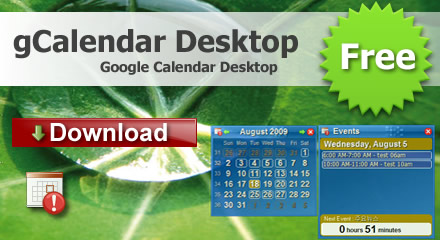
Google Calendar Desktop